The sleek knot is a go-to holiday hairstyle that combines elegance with a touch of casual sophistication. Whether your clients are heading to a low-key celebration or a formal holiday affair, the versatile slicked-back knot suits any festive occasion. This low-effort, high-reward look seamlessly transitions from day to night and looks great on any hair type or texture.
Ahead, learn how to deliver that coveted “undone yet polished” aesthetic for your clients this holiday season with Biolage Professional’s step-by-step tutorial.
How-To: The Holiday Slick Knot
Instagram/@biolage
Step 1: Prep the hair with plenty of hydration
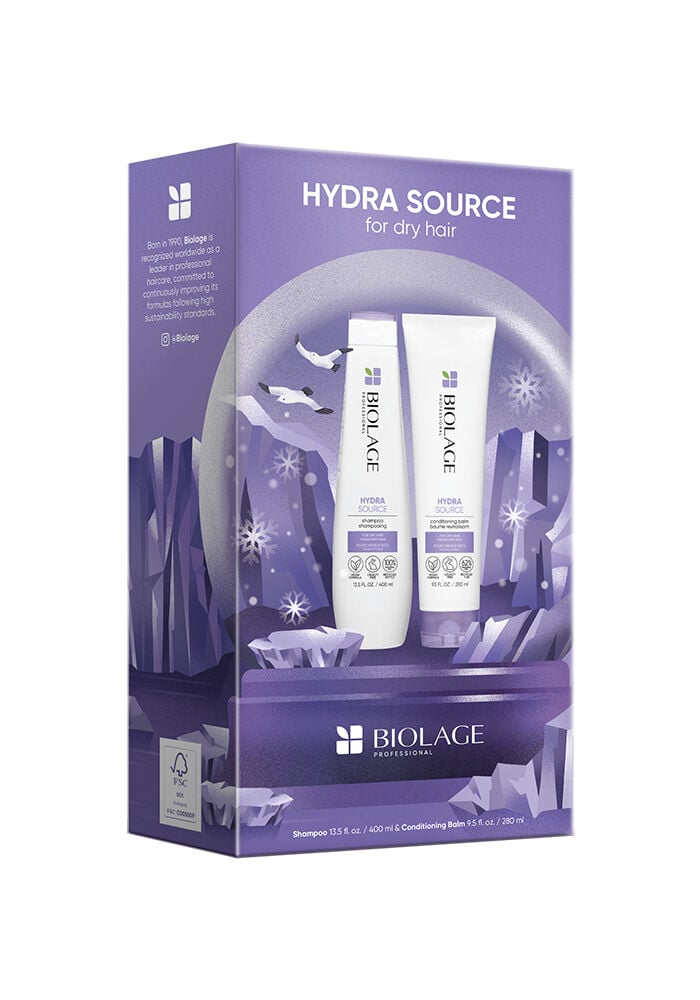
The perfect slick knot begins with a smooth, manageable, and hydrated foundation. So, before you begin styling, prep the hair with a professional shampoo and conditioner that hydrates and nourishes dry hair, like Biolage Professional Hydra Source Shampoo and Conditioner. This moisturizing duo is formulated with aloe to hydrate the hair while adding softness, gently cleansing, and supporting healthy-looking strands.
Step 2: Achieve a smooth base
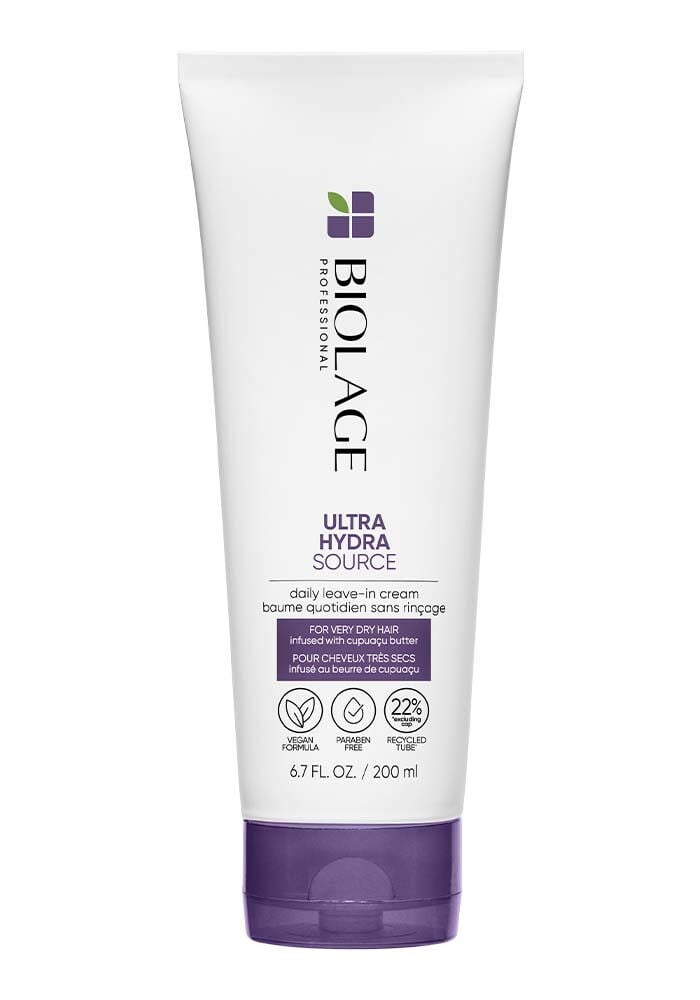
Follow with a small amount of Biolage Professional Hydra Source Leave-In Cream, working it through damp hair to detangle, combat frizz, and deliver moisture. Then, blow dry the hair (or air dry) until it’s completely dry. This holiday style can also be done on second- or third-day hair, if preferred, for a bit more texture and grip.

Instagram/@biolage
Step 3: Part and section the hair
Use a fine-tooth comb to create a clean middle part, which will add symmetry and sophistication to the final look. Then, divide the hair into three sections: two even side sections (from the front of the hairline to just behind the ears) and one larger section at the back. Clip the side sections out of the way for now.
Step 4: Create a low ponytail
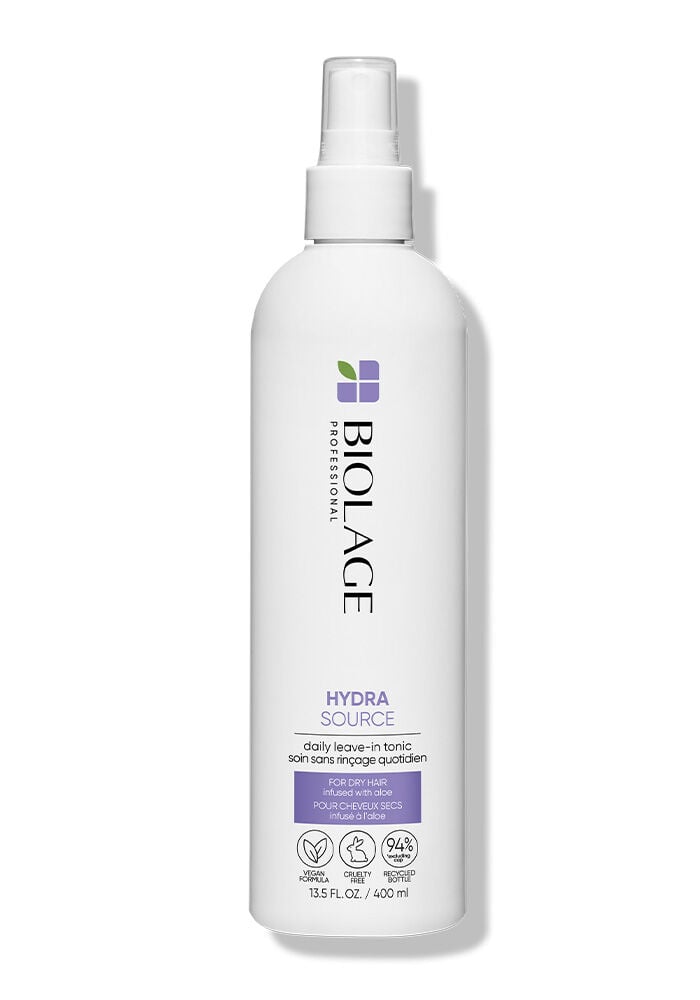
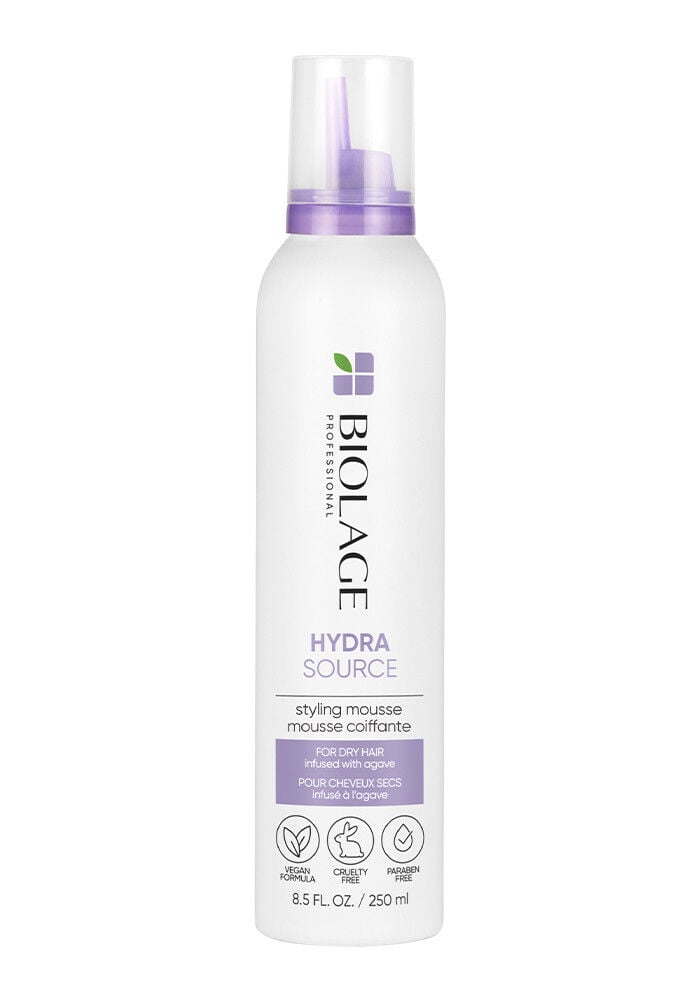
Take the section of hair in the back and apply a few spritzes of Biolage Professional Hydra Source Daily Leave-In Tonic for great slip, shine, and to help prevent breakage as you style. You can also work in Biolage Professional Hydra Source Styling Mousse for lightweight hold, hydration, and natural movement. Next, gather the hair with your brush and create a low ponytail, securing it at the nape of the neck (or slightly higher, if preferred) with a hair elastic. Remember: Precision is key for an ultra-sleek look.
Step 5: Add the side sections to your ponytail
Unclip one of the remaining sections and apply a combination of the Hydra Source Leave-In Tonic and Hydra Source Styling Mousse in small, even sections. Next, direct the section of hair back toward the base of the ponytail and clip it down with an alligator clip while you repeat the process on the other side. Remove the clip from the first section and use a bungee (two elastics tied together with a bobby pin on each side) to add both sections into the ponytail. Wrap the elastic around the hair and use the bobby pins to secure everything in place.
Pro Tip: Use a hair dryer along the part to help smooth down your ponytail and give it an ultra-polished, sleek finish.
.png)
Instagram/@biolage
Step 6: Start twisting
Now that the foundation of your style is complete, it’s time to start creating the knot. Divide the ponytail into two equal sections and apply some more Hydra Source Styling Mousse, making sure every strand is coated and ready to be sculpted. Twist each section individually (in the same direction), then twist them together to form a single, rope-like twist. To do this, you will twist each section toward the ear it is closest to, crossing them over each other repeatedly and twisting down the length of the ponytail until you reach the ends. Secure the twist with an elastic.
Step 7: Wrap the hair into an elevated knot
Create your knot by twisting the length of the ponytail upward, reversing directions as you wrap the hair around the base of the ponytail to form a bun. Use bobby pins to secure the knot in place, adjusting the bun’s size and shape as you go to achieve your desired look.
Step 8: Add your finishing touches
Frizz and flyaways can really take away from any sleek holiday hairstyle. To lock your style in place and banish flyaways, add a few spritzes of Biolage Professional Freeze Fix Humidity-Resistant Hairspray. This fast-dry hairspray gives the hair a boost of shine and provides enduring yet touchable hold.
Pro Tip: If you’re going for a softer, more undone look, gently release a few strands of hair around the hairline to give the style a more casual finish.
Next Up: How-To: Effortless Holiday Updo


