 To a new stylist or even a seasoned veteran, a color correction can seem like a daunting task. As colorists, we deal with the unpredictable every day, and it’s so important to be prepared for these types of client situations. Here are 3 tips that can help set you up for success during a color correction!
HAVE A GAME PLAN
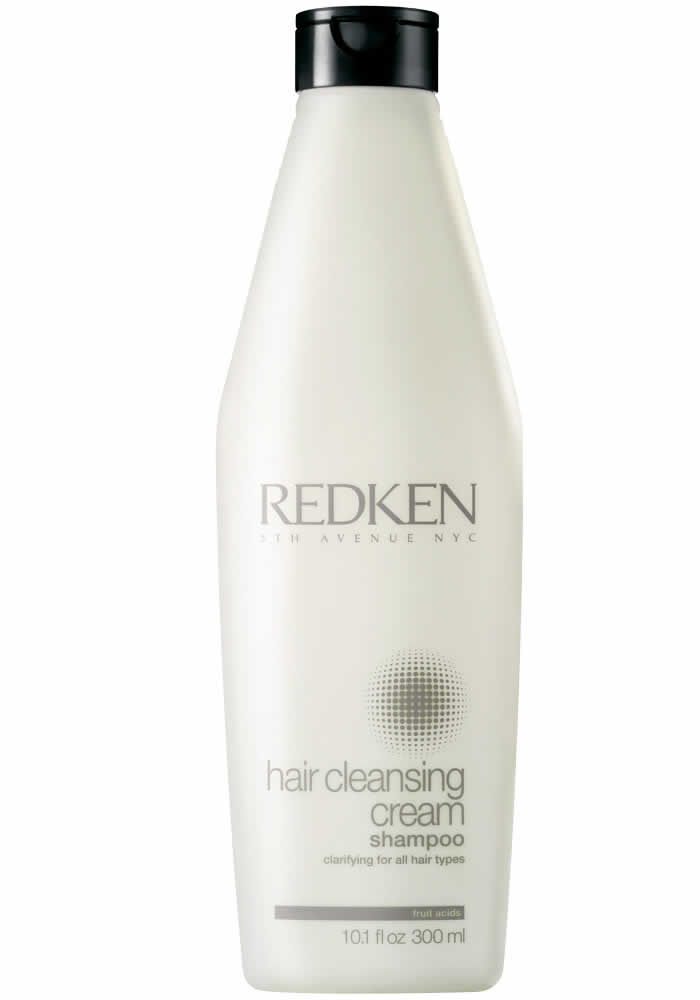
This may seem like a no brainer, but a solid game plan goes a long way when you need to achieve a big change in a short amount of time. Make sure to have a thorough consultation with your client to understand their full haircolor history. Once you know what haircolor is on the hair you can decide if pre-treatment is necessary. Some options for pre-treatments include a color remover (necessary if there are layers of oxidative color on the hair), or a clarifying treatment for build-up. A great option is Redken’s Pre-Art Treatment and Hair Cleansing Cream.
WHEN IN DOUBT, FOIL IT OUT
A full foil is a great option when blending very uneven canvases. Foiling gives you the ability to get the maximum lift while also allowing you to correct the hair with different formulas. With a color correction, it is important to foil in a pattern that allows you to rinse each section individually. This allows you to rinse as each section finishes processing to prevent over-processing. In color corrections, it’s also important to use the right lightener for maximum lift.
AND FINALLY, TREAT AND TONE
There are a variety of treatment options to choose from, but after a large color correction, it is so important to bring the pH of the hair down gently. A protein treatment after lightening, but before toning, is fantastic way to noticeably strengthen the hair and prep it to receive the toner evenly. Redken’s Extreme Chemistry Shot Phase is a perfect option for this. The next step is toning and lastly, finish with a moisturizing shampoo and mask.
And voila, you’re done! Beautiful, healthy, color corrected hair!
Photography: Courtesy of Redken


